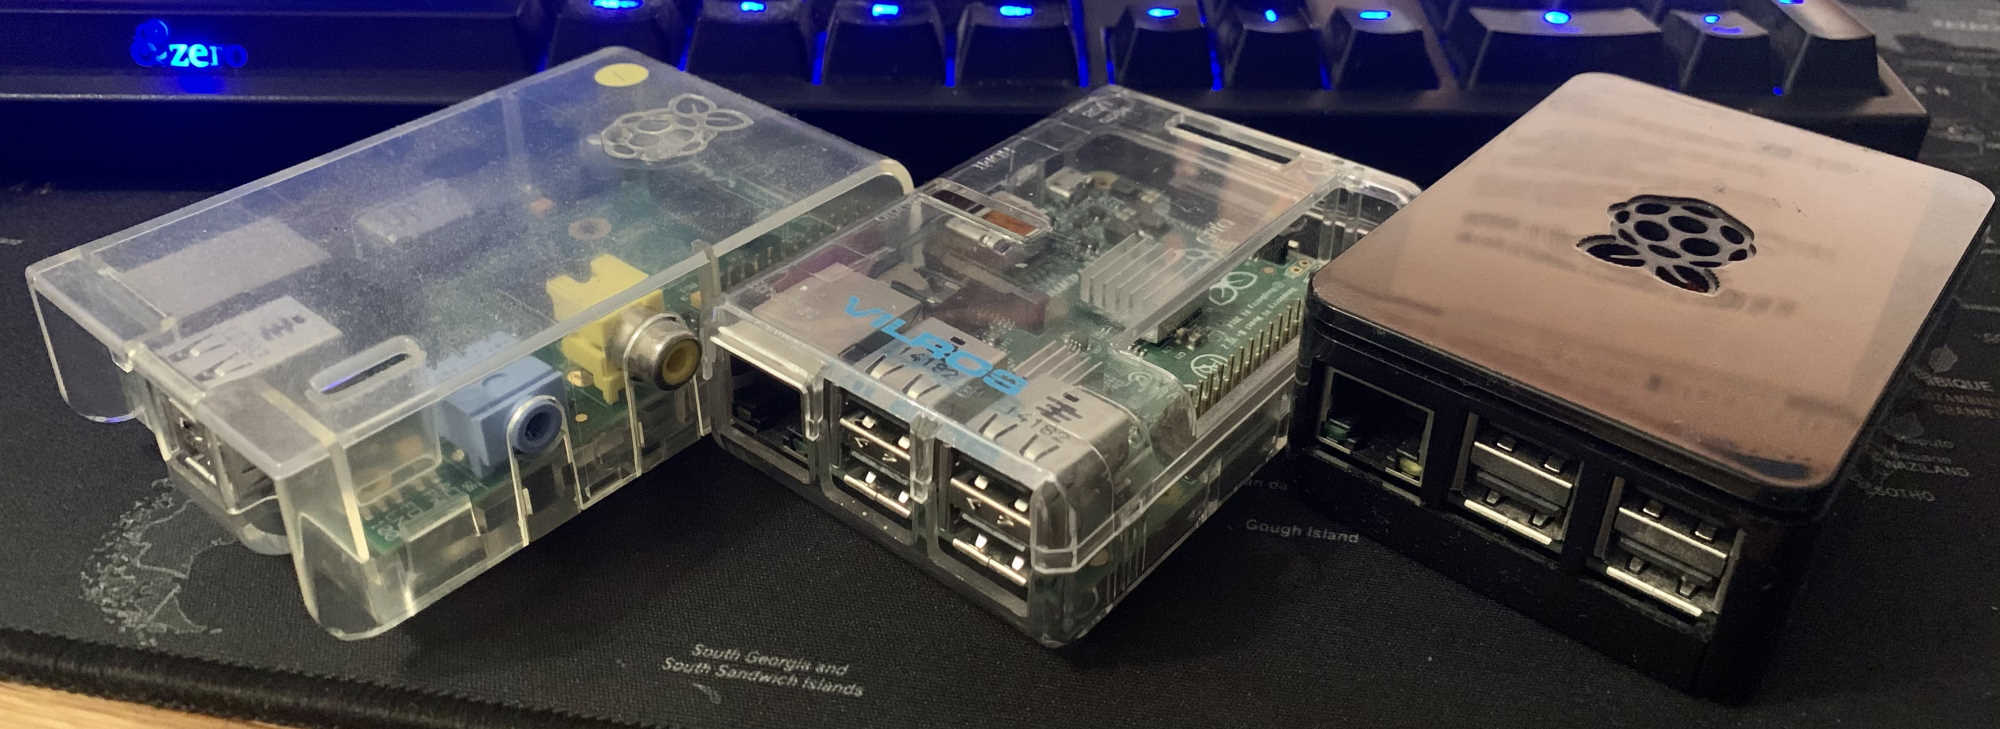
What is a Raspberry Pi
It’s basically a small ARM-powered computer that lets you do whatever you want with it if you want to know in great detail visit https://www.raspberrypi.org/
I personally used a Raspberry Pi for building a custom NAS server and torrent box, it’s has served me quite well. I also used a Raspberry Pi for setting up a media centre as well, it’s pretty cool.
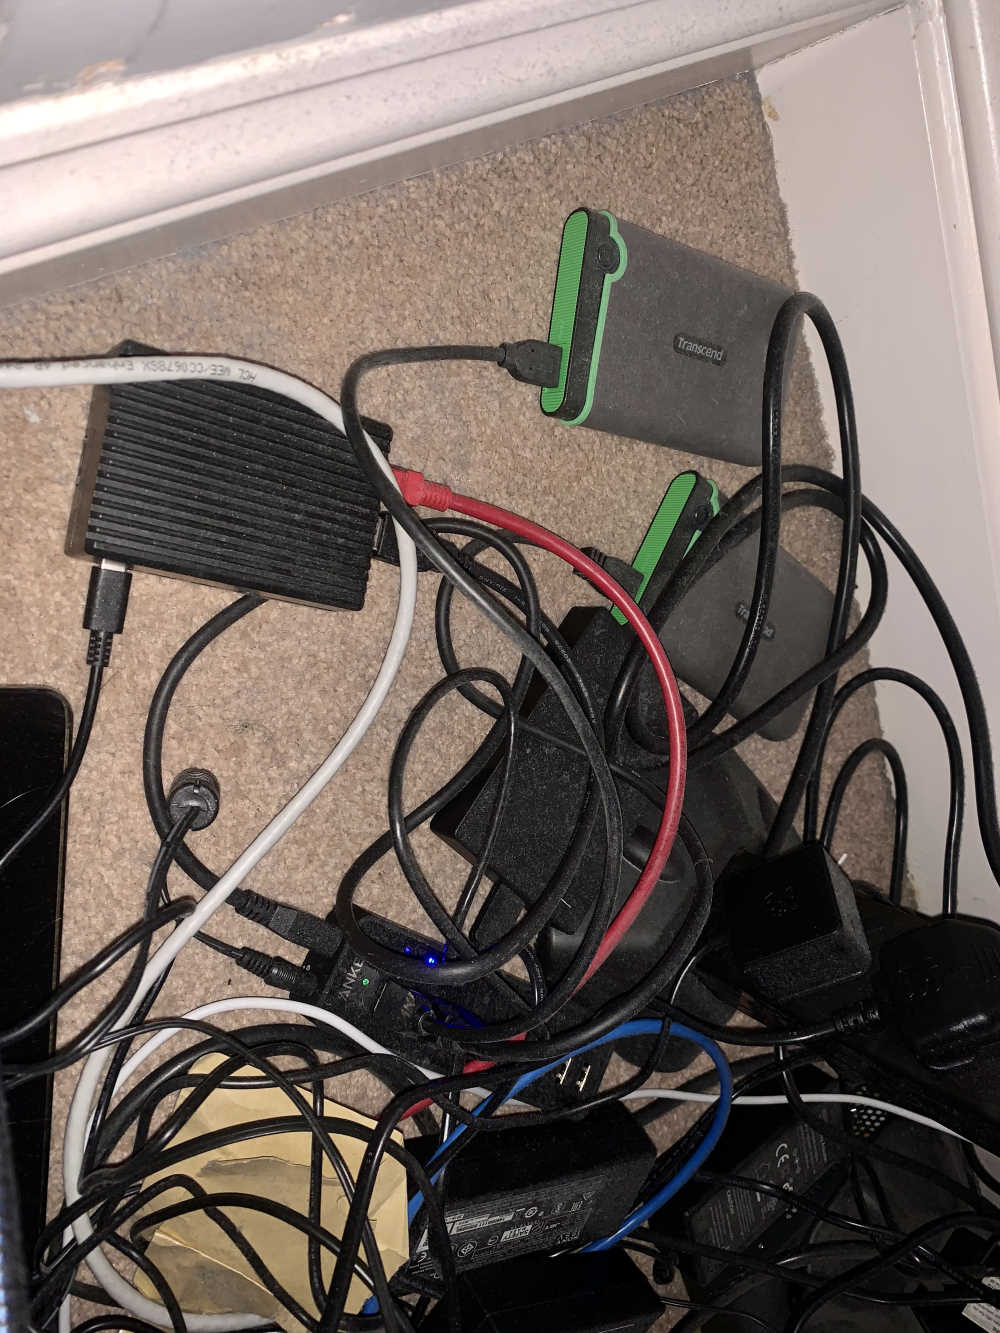
Running a NAS Server on Raspberry Pi 4 (4GB)
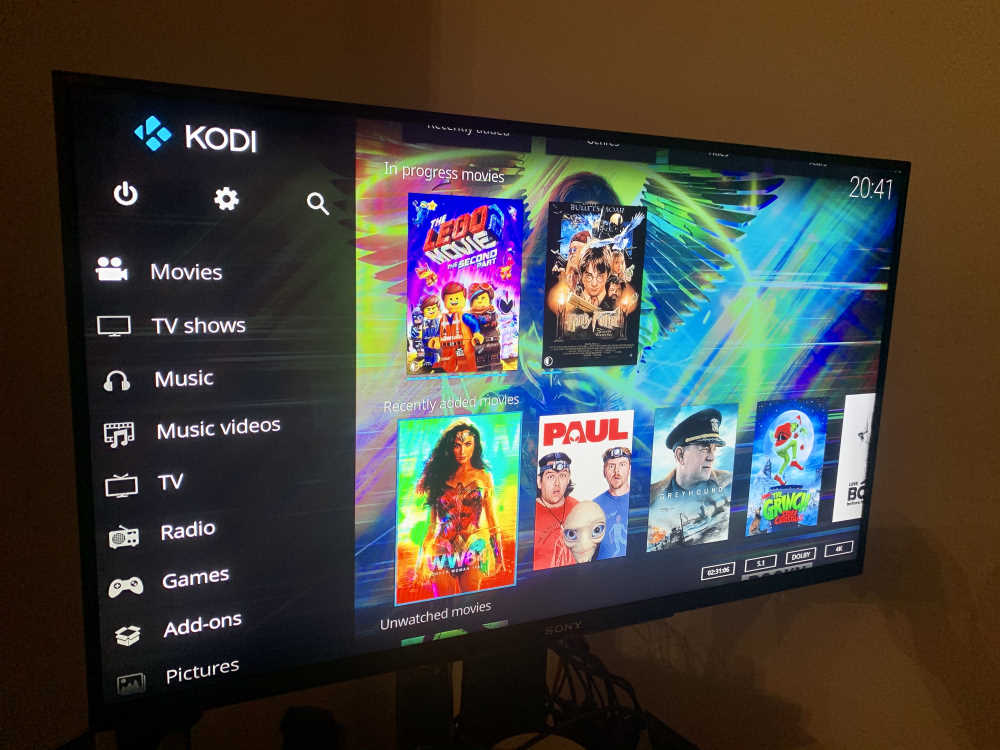
Kodi running on Raspberry Pi 4 (4GB)
How to prepare the image for Raspberry Pi using WSL2
Before we do that I’m going to list down the requirements. I’m assuming a Raspberry Pi 4B.
- Windows 10 May 2020 Update (build number 10.0.19041) or greater
- This is required for WSL2
- Windows Subsystem for Linux 2 (WSL2)
- version 1 does not support the ext4 file system, which will not work.
Now we are going to prepare an image file with multiple partitions, let’s create a 1GB image file using the WSL2 terminal.
# Not as root
dd if=/dev/zero of=1GB_sd.img bs=1M count=1024
You can create a bigger image file if you like, but it will take longer to create, alternatively, you can expand the partition after you booted up the system. link.
Now you going to need to link the image file to the system, you can do that by using losetup
# As root
losetup -Pf --show 1GB_sd.img
That command should tell where it has been linked, I’m going to assume /dev/loop1, now we are going to prepare the
partition inside the image using fdisk.
# As root
fdisk /dev/loop1
At the fdisk prompt, create two new partitions. Type n, then p for primary, 1 for the first partition on the
drive, press enter to accept the default first sector, then type +100M for the last sector.
Type t, then c to set the first partition to type W95 FAT32 (LBA)
Type n, then p for primary, 2 for the second partition on the drive, and then press enter twice to accept the
default first and the last sector. Write the partition table and exit by typing w
Then create and mount the FAT filesystem
# As root
mkfs.vfat /dev/loop1p1
mkdir boot
mount /dev/loop1p1
Then create and mount the ext4 filesystem
# As root
mkfs.ext4 /dev/loop1p2
mkdir root
mount /dev/loop1p2
Then download and extract the root filesystem (as root, not via sudo)
# As root
wget http://os.archlinuxarm.org/os/ArchLinuxARM-rpi-4-latest.tar.gz
bsdtar -xpf ArchLinuxARM-rpi-4-latest.tar.gz -C root
sync
Then move boot files to the first partition
# As root
mv root/boot/* boot
Then umount the two partitions
# As root
umount boot root
Then unlink the image from the system.
# As root
losetup -d /dev/loop1
At this point, you should have the image file ready to write to the SD card, you can use Win32 Disk Imager Once you have done that insert the SD into the Raspberry PI and it should boot up. 🙂
References
Creating Virtual Disks Using Linux Command Line
Arch Linux ARM Raspberry Pi 4